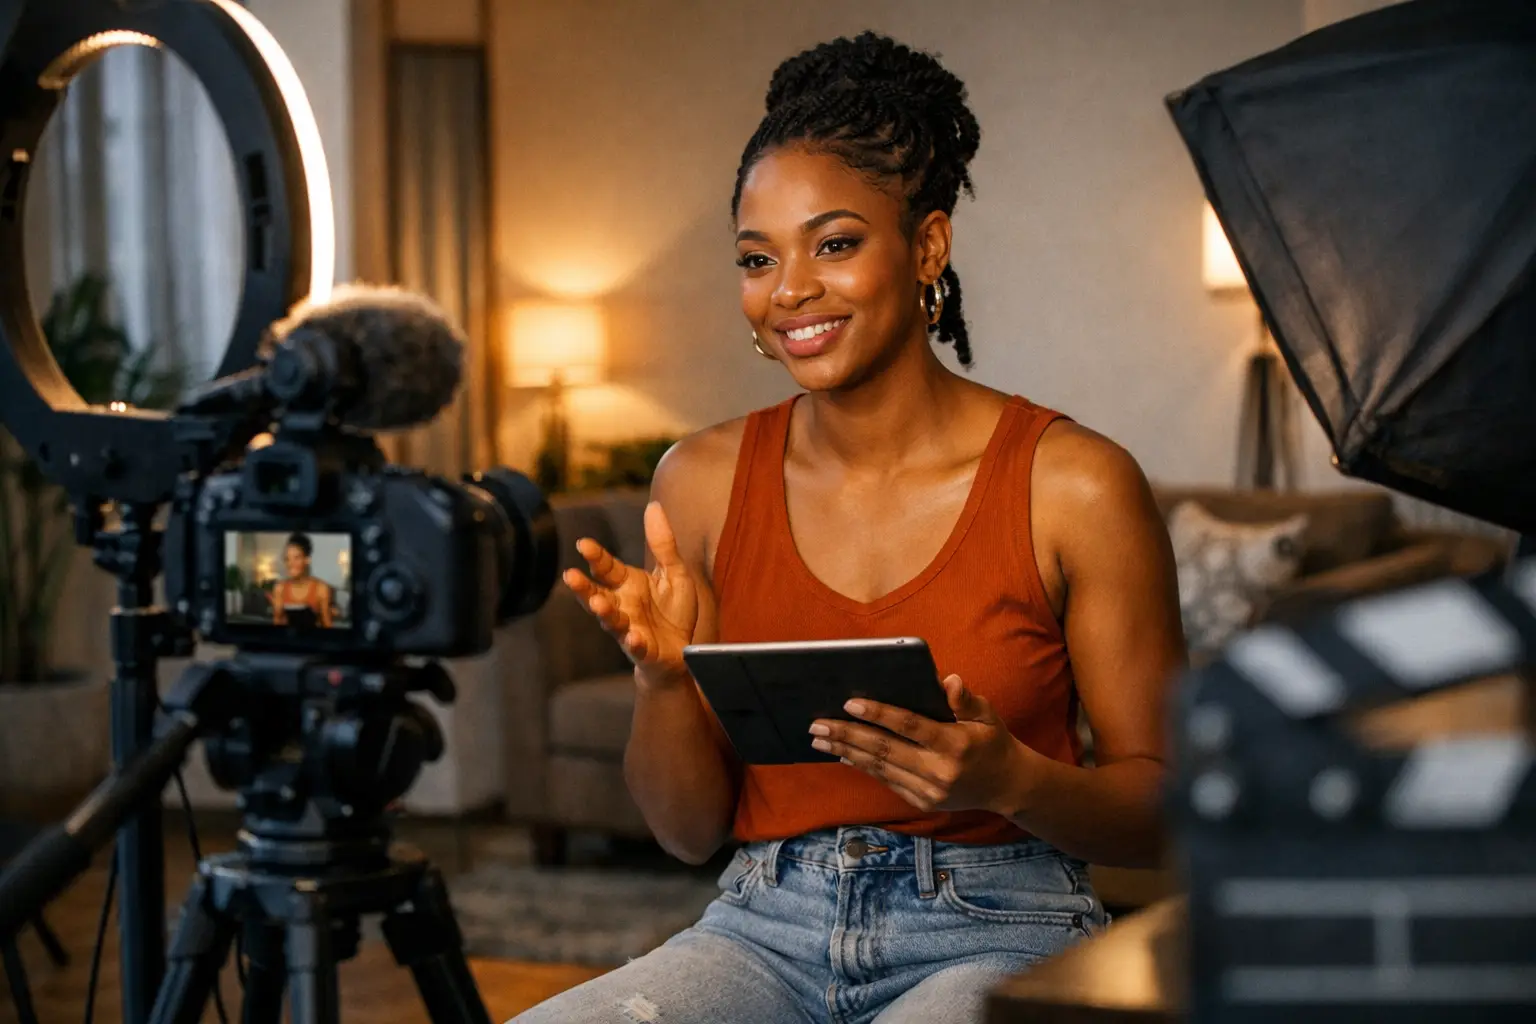
A casting team may watch your self-tape between meetings, on a laptop, with dozens of other submissions waiting. You do not need a studio-level production to stand out, but you do need a tape that makes your performance easy to watch. These audition self tape tips focus on the details that help your work arrive clearly, professionally, and on brief.
The goal is not to make a short film. Your job is to remove distractions so the casting team can see your choices, hear the text, and quickly understand why you fit the role. A clean, confident tape signals that you can take direction, prepare independently, and be ready to work on a real production.
Start With the Casting Brief, Not the Camera
The fastest way to lose ground is to submit a polished tape that ignores the instructions. Before rehearsing, read the casting notice from start to finish. Check the requested framing, slate requirements, file name, deadline, scene instructions, accent, wardrobe guidance, and whether the reader should be audible.
Treat every instruction as part of the audition. If the brief asks for a full-body intro and a chest-up scene, provide both. If it asks for no music, no editing, or no props, do not add them because they look creative. Casting teams use specific submission requirements to compare performers efficiently. Following them makes their job easier.
If an instruction is unclear, make the most practical choice rather than letting uncertainty stop your submission. Keep it simple, professional, and truthful to the scene. For a role requiring a particular skill, such as dance, sports movement, or a regional accent, show only what has been requested and what you can perform reliably.
Build a Setup That Keeps Focus on You
A dependable self-tape setup is less about expensive gear and more about consistency. Find a quiet space with a plain, uncluttered background. Light gray, blue, beige, or a soft neutral wall usually works well because it separates you from the frame without competing with your face.
Position your camera at eye level. A phone can produce a strong tape when it is stable, set to a good resolution, and not balanced against a stack of books that might slip mid-scene. Use a tripod or secure phone mount whenever possible. Film horizontally or vertically only as instructed. When no format is specified, landscape is often the safer choice for traditional screen casting, but mobile-first content projects may prefer vertical. The brief decides.
For most dramatic scenes, frame from mid-chest to just above the head. This gives casting enough room to read your expression while keeping your eyes visible. A close-up can feel intense and effective, but it can also make normal movement look exaggerated. A wide shot may be right for a physical role, yet it often loses the emotional detail of a dialogue scene.
Prioritize clean sound over cinematic visuals
Casting can forgive a modest background more easily than muffled audio. Turn off fans, televisions, air conditioners, notifications, and anything likely to interrupt your take. Close windows if traffic or voices carry into the room. Record a 10-second test, then listen back through headphones before doing the full scene.
You do not always need an external microphone. If your phone is close enough and the room is quiet, its built-in mic may be sufficient. If you use a mic, test it first. A poorly placed lavalier, echo-heavy room, or aggressive noise reduction can make dialogue harder to understand than a straightforward phone recording.
Light Your Face, Not the Whole Room
Natural light from a window can be excellent if it falls evenly across your face. Stand facing the window or at a slight angle to it. Avoid placing the window behind you, which turns you into a silhouette and forces the camera to struggle with exposure.
When daylight is unreliable, use two soft lights placed in front of you at roughly 45-degree angles. If you only have one light, place it slightly above eye level and soften it with diffusion if possible. Avoid overhead-only lighting, which can create heavy shadows under the eyes, and avoid colored LEDs unless the casting team specifically asks for a stylized look.
Check your background before recording. Mirrors, bright artwork, open doors, and piles of equipment pull attention away from your performance. You are not trying to prove that you own production gear. You are creating a clear working frame for the role.
Make Strong Choices Without Overplaying
The camera catches thought. That is one reason self-tapes can feel more exposing than in-room auditions. You cannot depend on the energy of a waiting room, a casting director across the table, or a large physical performance to carry the moment. The work has to live in your listening, timing, and specificity.
Start by identifying what your character wants from the other person in the scene. Then decide what is in the way. A playable action such as persuading, reassuring, confronting, protecting, or getting information gives the dialogue direction. It is more useful than trying to play an emotion like angry or sad from the first line.
Keep the first take grounded. Let the scene build where the writing gives you permission to build. Many performers rush to show range, then leave nowhere for the moment to go. A smaller choice is not automatically better, but a truthful choice is usually more watchable than a collection of visible acting decisions.
Use an off-camera eyeline unless the directions say otherwise. Place your reader close to the lens, a little to the left or right, so your face remains open to camera. Looking directly down the lens can work for direct address, social content, or a character speaking to an audience. In a conventional scene, it may feel unnatural.
Work with a reader who supports the scene
A good reader delivers lines clearly and gives you something real to respond to. They should not perform over you, rush through cues, or add unnecessary commentary. Ask them to stay close to the camera and maintain a steady pace.
If you have no reader available, use a recorded reader only when the casting instructions allow it. Avoid long pauses that make your reactions look disconnected. For scenes with complicated timing, finding a live reader can make a meaningful difference.
Wardrobe and Slates Should Add Clarity
Wear something that suggests the world of the character without becoming a costume. For example, a simple jacket may support a corporate role, while a plain T-shirt may fit a grounded teen or young adult scene. Avoid logos, distracting patterns, jewelry that catches light, and clothing that creates noise when you move.
For a slate, be direct. State your name, location if requested, representation if applicable, and any required measurements or profile turns. Speak naturally. A slate is not a second audition, and it does not need a dramatic persona. It is a practical introduction that helps the team organize submissions.
Record, Review, Then Stop Chasing Perfection
Give yourself enough time for a few takes. The first may be useful for settling into the scene, the second may have the best listening, and the third may sharpen your objective. But endless retakes can drain the spontaneity from your work.
Review for practical issues first: focus, sound, framing, lighting, missed lines, and compliance with the brief. Then watch the performance once as a casting professional might. Can you understand the scene without effort? Does the moment begin promptly? Are your choices clear without becoming forced?
Choose the take with the strongest connection, not necessarily the one with the most technically perfect line reading. A tiny stumble can be less damaging than a flat, over-controlled performance, provided the meaning remains clear and the instructions do not demand a word-perfect copy read.
Name your file exactly as requested. If no format is provided, use a clean convention such as FirstName_LastName_Role. Confirm that the video plays, uploads fully, and is sent before the deadline. A strong performance that arrives late or cannot be opened is still a missed opportunity.
Turn Each Tape Into Career Data
After submitting, make a short note about what you learned. Which setup gave you the cleanest sound? What kind of role felt most natural? Where did you lose time? Over several auditions, these notes help you build a faster process and identify the kinds of projects where your profile, skills, and creative instincts are most competitive.
You can also use this work to strengthen your professional readiness. Keep a reliable reader list, a basic self-tape kit, current headshots, and a clear profile of your credits and skills. On Fameidols Talent Network, that preparation helps you respond quickly when relevant casting calls and creative opportunities appear.
Your next tape does not need to look expensive. It needs to feel prepared, easy to assess, and alive in the moment. Set the frame, trust the work, submit on time, and let the casting team see the professional they may want on set.
Leave your comment
You must be logged in to post a comment.