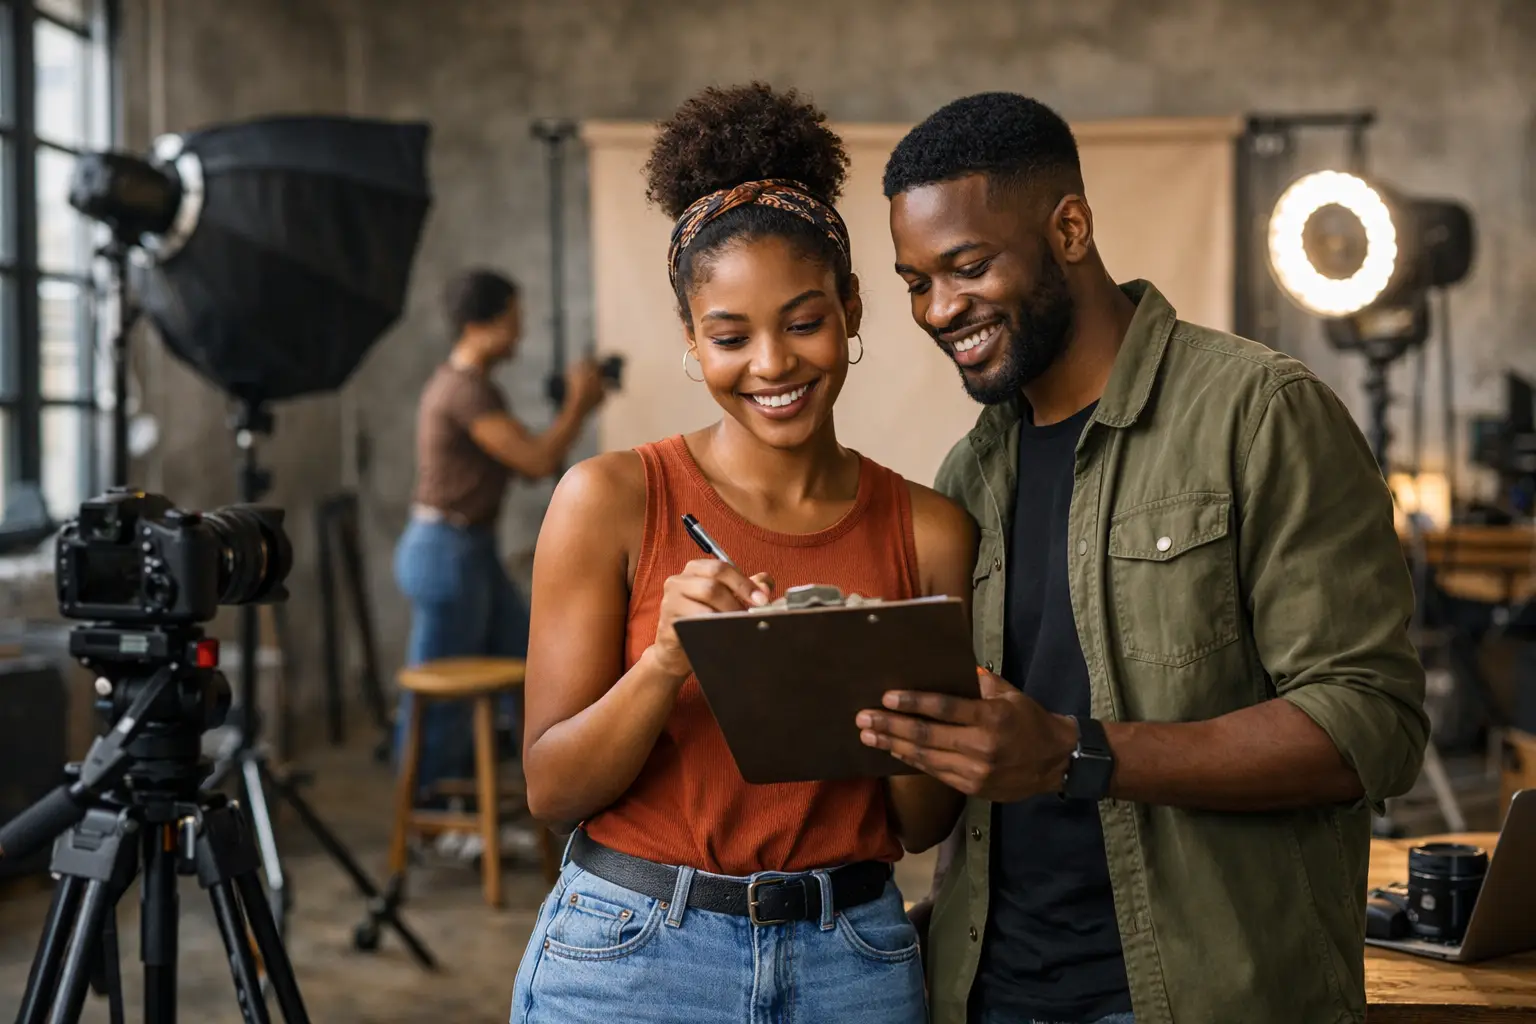
A studio can look impressive and still slow a production down. The missing detail is often not another camera or backdrop – it is a clear photography studio setup checklist that accounts for movement, power, client comfort, and the specific work being created. Whether you are shooting model portfolios, product campaigns, creator content, or headshots, your setup should help the team work faster without compromising the image.
Start With the Shoot, Not the Shopping List
The right studio setup depends on the brief. A beauty photographer needs controlled, flattering light and a reliable makeup station. A product team may need a tabletop surface, grip tools, and room for styling. A fashion campaign needs enough clear floor space for full-length frames, changing, movement, and a crew that is not stepping into every shot.
Before booking a room or buying gear, define the practical requirements: subject type, number of people on set, final image orientation, backdrop needs, lighting style, and delivery schedule. A clean white-wall studio may be perfect for e-commerce but frustrating for a dramatic editorial that requires blackout control. The goal is not to build the biggest studio. It is to build a setup that fits the job.
For project owners, write these details into the production brief before hiring. For photographers and studio providers, make them visible in your listing so clients can tell quickly whether your space supports their shoot.
Photography Studio Setup Checklist: The Essential Zones
A productive studio is easier to run when it has clear zones. Even a small space can separate functions with thoughtful furniture placement, rolling carts, and taped floor marks.
Your core setup should include these areas:
- Shooting zone: Clear enough for the subject, light stands, modifiers, camera position, and safe movement around cables.
- Lighting and grip zone: A designated home for stands, sandbags, clamps, reflectors, flags, and spare modifiers.
- Styling and prep zone: A table for products, steamers, wardrobe, makeup, mirrors, and handheld tools.
- Client and review zone: Seating away from the active set, plus a monitor or laptop for image review when tethered shooting is required.
- Storage zone: Shelving or cases for equipment that must stay protected but accessible between setups.
Keep the shooting zone deliberately open. A cramped set makes it harder to adjust angles, creates safety risks, and limits the photographer’s ability to work with longer focal lengths. If the space is small, choose compact light modifiers and plan for tighter compositions rather than forcing a large production footprint into the room.
Get Power, Safety, and Climate Right First
Power is rarely the creative part of a shoot, but it can decide whether the shoot runs on schedule. Check how many outlets are available, where they sit relative to the shooting area, and what the circuit can safely handle. High-output continuous lights, a steamer, hair tools, monitors, chargers, and a laptop can overload a weak circuit quickly.
Use quality extension cords rated for the load, and route them along walls or under cable covers. Sandbag every stand that could tip, especially when using a boom arm or large softbox. Keep walkways clear, secure loose backdrop paper, and make sure there is a first-aid kit and fire extinguisher on site.
Temperature and sound matter more than many teams expect. Hot lights can make talent uncomfortable, impact makeup, and shorten everyone’s patience. Loud air conditioning can disrupt video, interviews, and social content. Test both before call time. If you cannot turn off or control HVAC, plan the recording schedule around it or use a different space.
Build a Lighting Kit Around Control
A studio lighting kit does not need to be oversized. It needs to be controllable and repeatable. One strong key light, a fill option, and tools to shape or subtract light can deliver more professional results than a crowded rack of mismatched fixtures.
For still photography, start with a dependable strobe or continuous key light, a medium softbox or umbrella, a reflector, and at least one flag or black foam board. Add a second light when the creative direction calls for separation, background exposure, or a more sculpted look. Continuous lights are especially useful for hybrid photo and video productions because the team can see the effect before pressing record, though they can run hot and may require more output for certain stills work.
Modifiers are where versatility grows. A large softbox creates broad, gentle light for portraits and fashion. A beauty dish produces more defined contrast. Grids keep spill off the background, while flags create shadow and shape. Rent specialty lighting when a campaign calls for it rather than purchasing equipment that will sit unused after one job.
Always test your intended setup with a stand-in before talent arrives. Check exposure, color temperature, shadows, reflections, and whether the background is evenly lit. That 15-minute test can prevent an hour of corrections later.
Prepare Backgrounds for the Deliverables
Choose backgrounds according to how the images will be used. Seamless paper is quick, clean, and useful for headshots, catalogs, and simple campaign work. Fabric can add texture but wrinkles easily. Painted flats and styled sets create more character, though they take longer to reset and can limit shooting angles.
Keep at least one neutral option ready, but do not assume white is always the safest choice. Bright white backgrounds require enough light to look clean without washing light back onto the subject. Gray is flexible because it can appear lighter or darker depending on how it is lit. Black can look premium and controlled, but it needs careful separation to avoid losing dark wardrobe in the frame.
If a shoot involves multiple looks, label each background and plan the order of setups. Start with the cleanest backdrop or the look most sensitive to time. That protects the core deliverable if the schedule slips.
Set Up a Fast, Professional Workflow
The studio experience is part of the deliverable. Clients notice when equipment is ready, references are easy to access, and the team has a system for file handling.
Prepare a shot list, mood board, call sheet, and simple floor plan before the day begins. During the shoot, tethering can speed approvals and help art directors catch small issues early. It also creates a trade-off: a tethered workstation adds cables, technical points of failure, and another screen for people to gather around. Use it when client review or precise product work justifies the setup.
Create a file protocol before capture. Name folders by project, date, and setup. Back up cards during the shoot when possible, then create a second backup before equipment is packed away. For commercial work, confirm who approves selects, how retouching notes will be shared, and when the client expects proofs.
A visible reset routine helps between looks. Return modifiers to marked positions, sweep the shooting area, remove empty cases, and verify batteries and memory cards. Small resets protect the pace of the day.
Do Not Forget the People on Set
The best technical setup still underperforms when talent and crew are uncomfortable. Provide a clean changing area or privacy solution, a full-length mirror, garment rack, chair, water, and basic snacks for longer calls. Make sure bathrooms are accessible and presentable before clients arrive.
For talent shoots, keep the set warm enough for wardrobe changes and communicate the schedule clearly. For products, create a handling rule so samples are not scratched, misplaced, or mixed up. For creators recording video, confirm where they can place personal gear, review scripts, and manage sound without interruption.
This is also where the right team makes a measurable difference. A skilled photo assistant can manage lighting changes and gear safety. A digital technician can keep tethering and backups under control. A stylist, makeup artist, or set designer can protect the visual standard while the photographer stays focused on direction and composition.
Book What the Project Needs
Buying every piece of equipment is not always the smartest path, particularly for freelancers and growing production teams. Ownership gives you familiarity and availability, but rentals reduce upfront cost and let you scale for larger campaigns. The same applies to space: a home setup can work for controlled portraits, while a client-facing fashion or brand production may need a dedicated studio, loading access, makeup facilities, and a larger crew area.
Use a creative marketplace such as Fameidols to source the mix of studio space, equipment, and specialized production talent that fits the assignment. Clear listings and project details make it easier to match the brief with the people and resources needed to execute it well.
Before confirming a booking, ask about access hours, power capacity, elevator or loading access, equipment inventory, cleaning rules, cancellation terms, insurance requirements, and overtime rates. These details are not glamorous, but they determine whether the day feels organized or improvised.
A studio should give your team room to make strong work, not create new obstacles to solve. Set it up around the brief, protect the workflow, and leave enough capacity for the unexpected change that almost every creative production brings.
1 Comment
Success E
Interesting